

Capturing the Milky Way on Camera
There’s nothing quite like looking up at a dark sky and seeing the Milky Way stretch overhead and you can capture it with just your iPhone camera! Whether you’re hoping to document your stargazing adventure or just want to experiment with astrophotography, here’s how we’ve been capturing the Milky Way with both our iPhones and Mirrorless camera.
Milky Way iPhone Tips
If you have an iPhone 11 or newer, you’re in luck because Night Mode makes Milky Way iPhone photography possible even for beginners. It does a surprisingly great job in low light and takes excellent Milky Way shots. Here’s how to get the best shot:
Use a tripod: Even the smallest movement can blur your photo, so set your iPhone on a stable tripod. Additionally, with the phone stable, the light sensors will detect the darkness even better and allow your shutter speed to increase to 30 seconds vs 10 seconds.
Trigger the shutter remotely: If you have an Apple Watch or Bluetooth remote, use it! That way, you won’t shake the phone when taking the shot.
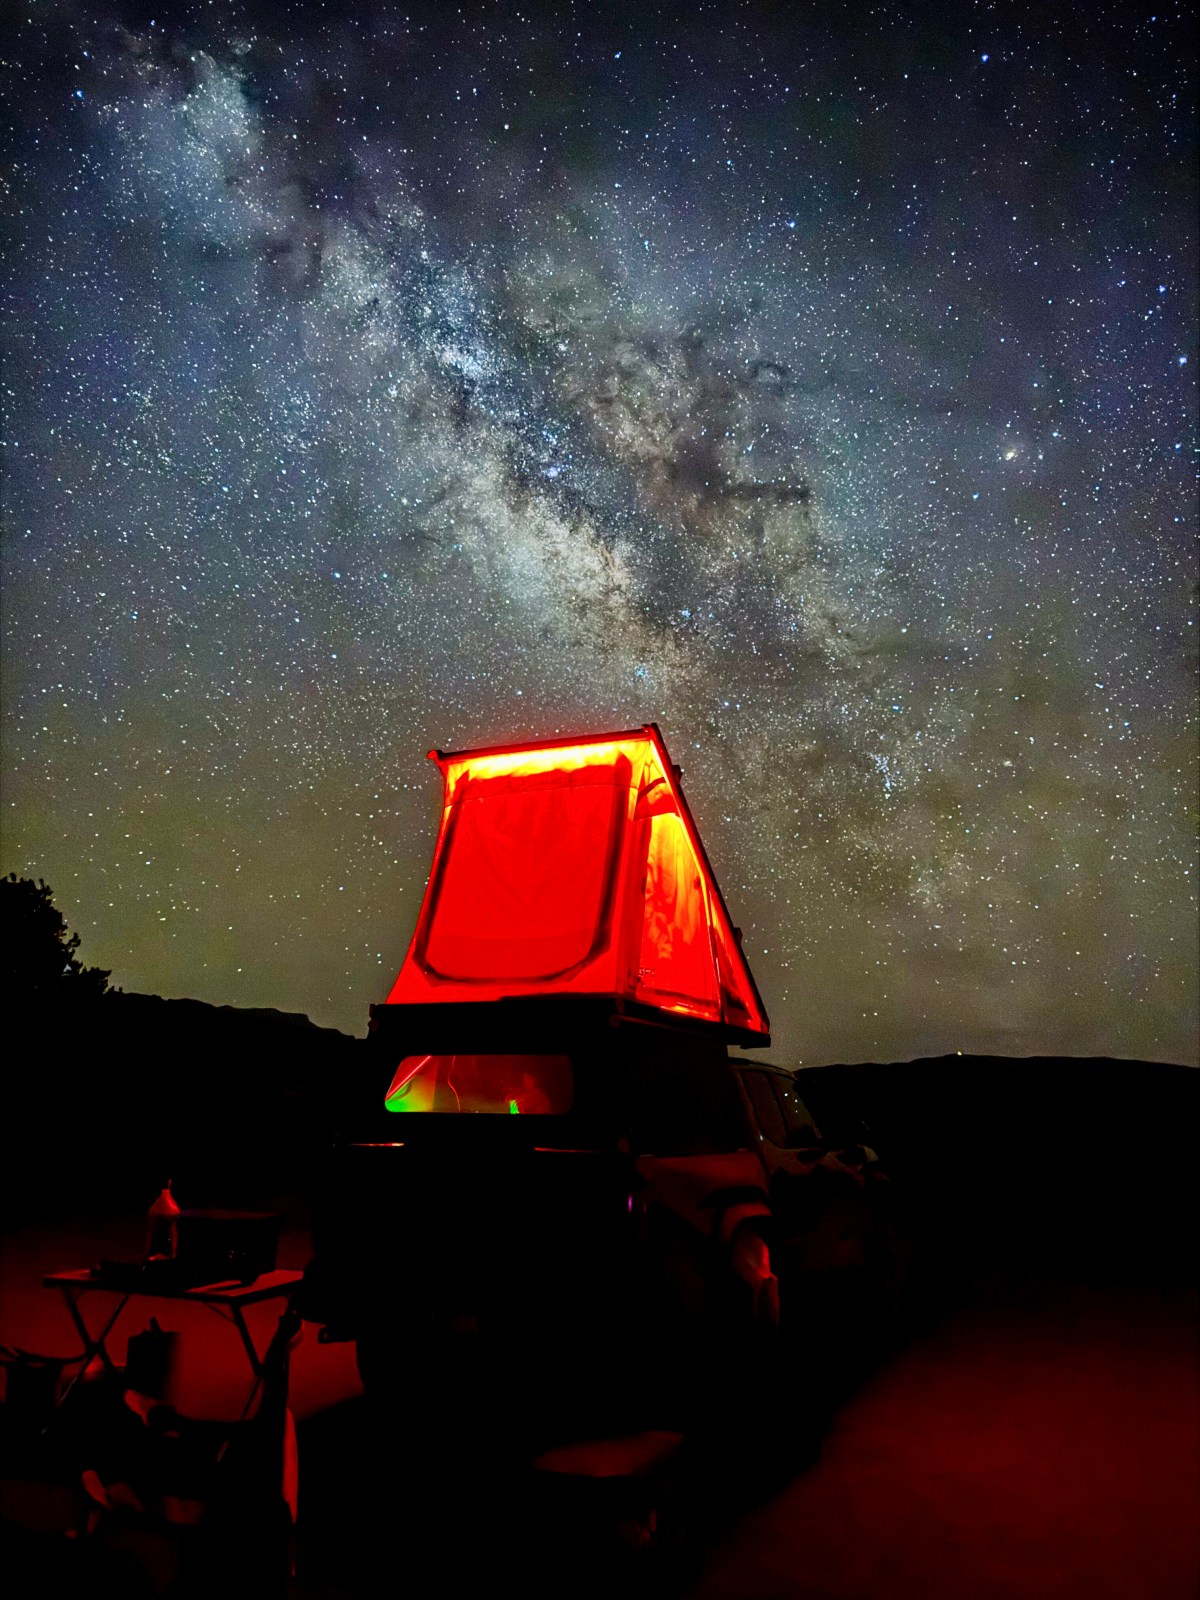
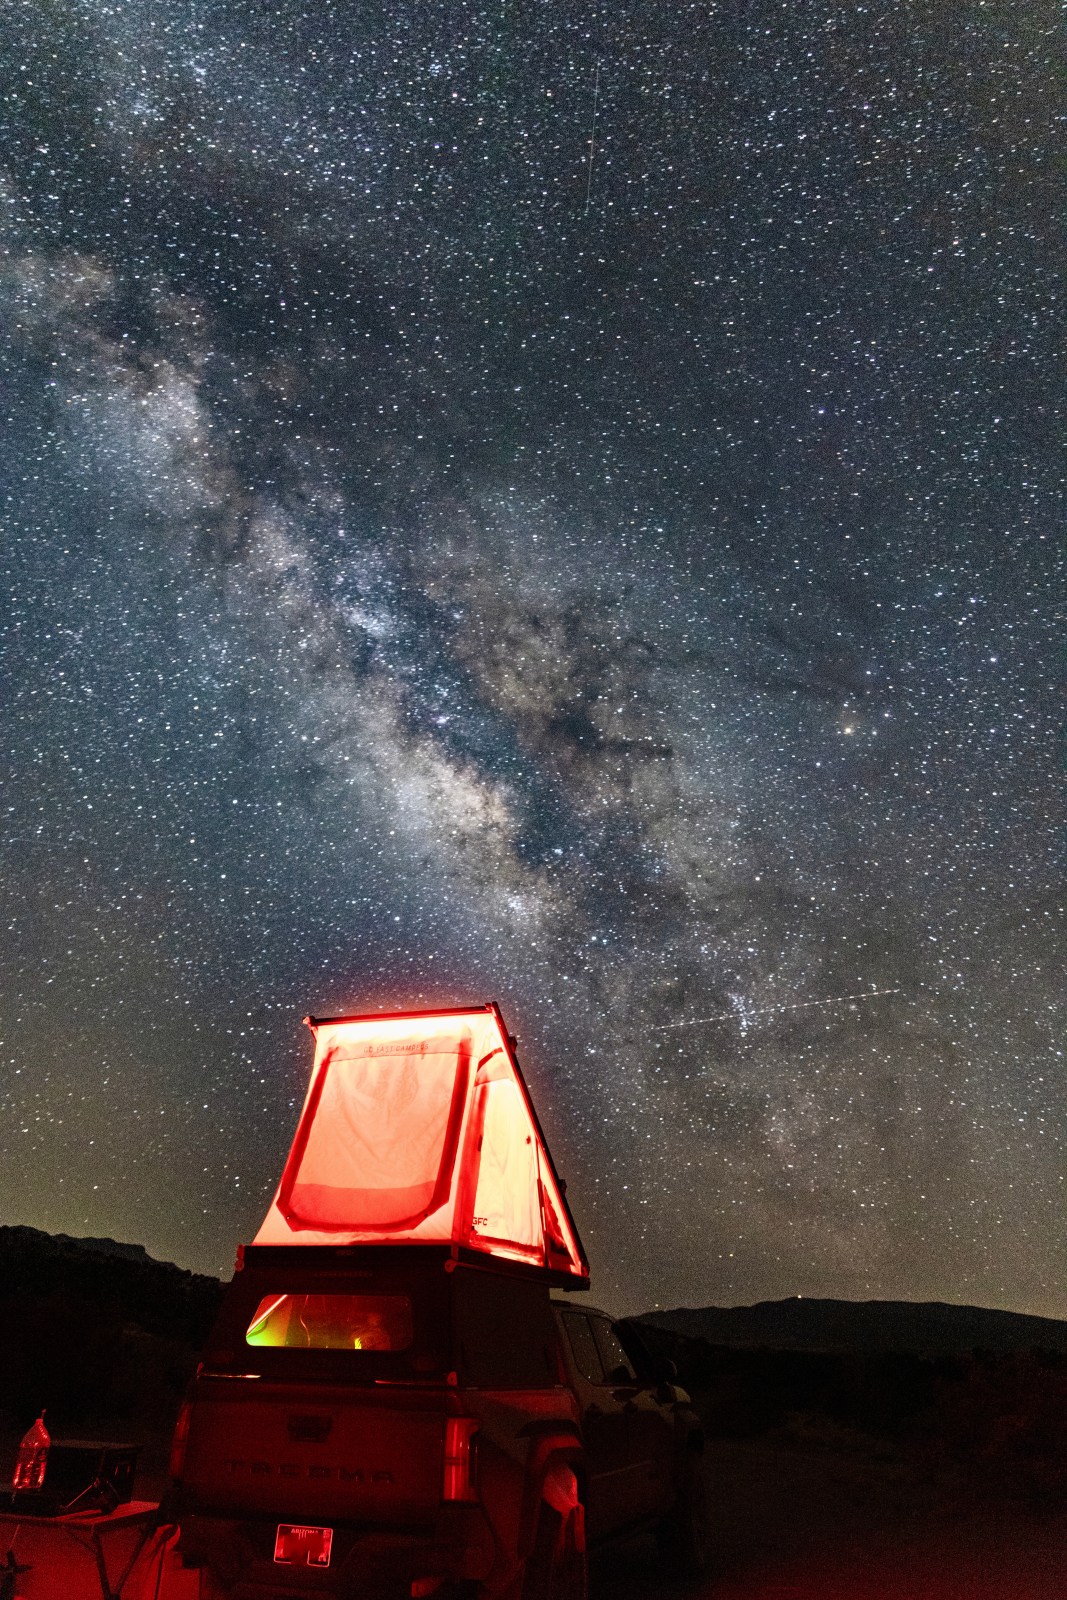
- Keep Light Away: Any light in front of the camera will come through extra bright on camera and will ruin the photo. And any light shining on objects will cause the objects to show up extra bright on under a long shutter. We suggest using a red light and shining light down or keeping it off when taking a photo.
Edit after shooting: Try the auto-editing tools on your iPhone or fine-tune your photo in Adobe Lightroom. This can really bring out the stars and contrast in the Milky Way.


Mirrorless Setup & Camera Settings
We also shoot with a Canon EOS R5 mirrorless camera on a tripod, using the Canon CameraConnect app to trigger the shutter from our phones. The remote shutter helps us avoid even the slightest shake. These settings can also be created on a DSLR camera.
Here’s what our typical settings look like:
-
Shutter speed: 30 seconds
-
Aperture: f/4 (our lens’s widest setting)
-
ISO: Between 6400–10000, depending on conditions
-
Focus: Manual, set to infinity
-
File type: We shoot in RAW for more editing flexibility
Again, your exact settings may vary depending on your camera and lens combo but this is a great starting point. And just like shooting on the iPhone, stability and light pollution matters. We edit our photos in Adobe LightRoom to help bring out the color and depth better.
When and Where to See the Milky Way
Catching the Milky Way is all about timing and location. Here’s what to keep in mind:
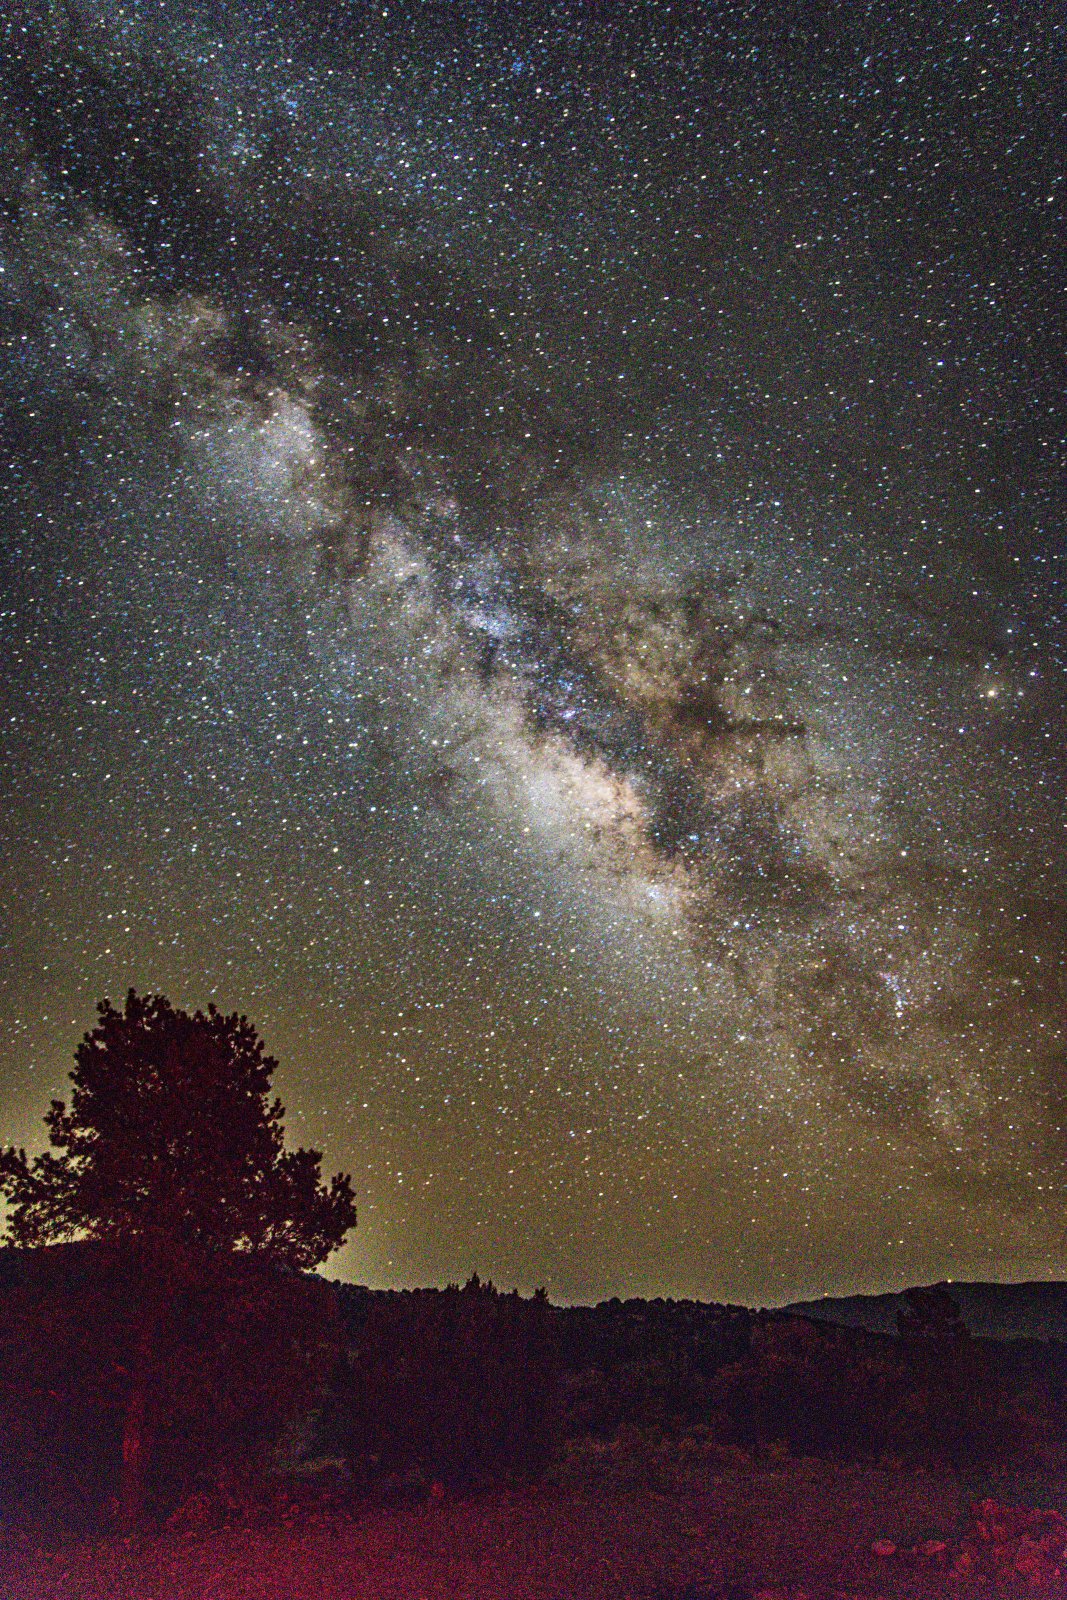
Best season: From spring to fall, especially in dark sky areas like many found in the American Southwest.
Moon matters: Aim for nights with little to no moonlight. Use a weather or astronomy app to check moonrise, moonset, and moon illumination.
Time of night: In spring, it’s usually visible in the early morning before sunrise. By mid-summer to early fall, it’s best seen shortly after sunset.
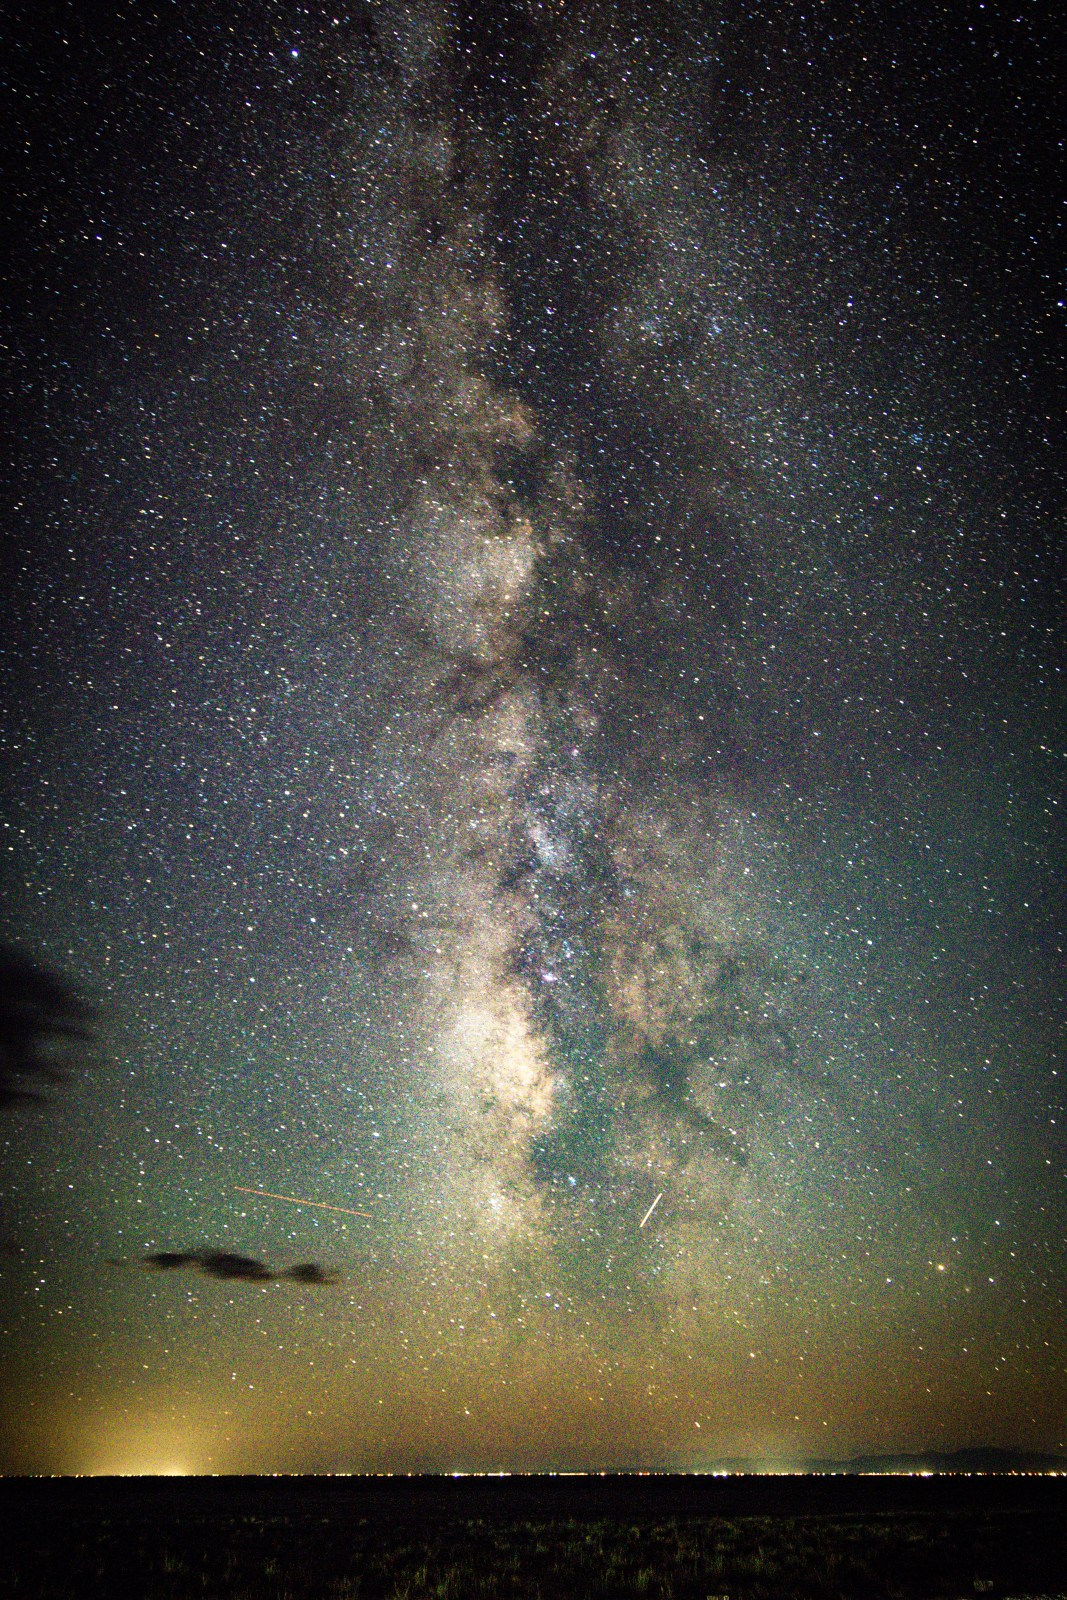
On nights with the right conditions listed above we can clearly see the Milky Way with our eyes. However, the camera brings out even more incredible detail and distant stars that are not always visible with our naked eye.
We’re Still Learning
We’re always experimenting with new techniques and editing tricks so don’t feel like you need to be an expert to get started. Whether you’re using your iPhone to capture the milky way or a full camera setup, the most important thing is giving it a try!
All of our camera gear is listed below. However if you’re looking for more gear tips, check out our gear guide.
Our Camera Gear
Favorite Trips We've Seen the Milky Way
We love finding locations that are ideal for star gazing and night sky photography. And when the stars align, making Milky Way visibility good, we’re even happier. Some of our favorite places we’ve had great success with the Milky Way are:
- Cosmic Campground in New Mexico in April,
- Portal, Arizona in November
- Great Sand Dunes National Park in September

