

Driving from Phoenix to Big Bend National Park
Big Bend National Park’s remote location along the Rio Grande in west Texas makes it one of the most unique and challenging parks to reach. The park’s diverse landscapes range from the Chihuahuan Desert at 1,200 feet to the Chisos Mountains at 7,832 feet, offering desert trails, mountain hikes, and even river adventures. Scenic drives and rugged 4×4 routes add even more ways to explore.
In this post, we share our April 2022 Big Bend National Park road trip from Phoenix, Arizona — why we chose April, how we got there, where we stayed, trip tips, and our favorite experiences along the way.
Please remember to practice the seven principles of Leave No Trace and always pack out what you pack in.
Table of Contents
Why Big Bend is a National Park
Earning “National Park” status is no small feat. It takes action by Congress and the President, often after years of advocacy from private citizens, conservation groups, scientists, and state leaders. With only 63 National Parks across the U.S. and territories, each one has something truly special that makes it worthy of this designation.
For Big Bend, it’s the combination of rugged desert, mountain peaks, and the Rio Grande itself — a landscape that’s both biologically and geographically diverse. Visiting in person is the best way to understand its value, and it’s what makes exploring Big Bend such a memorable experience.
Getting to Big Bend from Phoenix
In this blog post, we’re sharing the road trip we took from Phoenix, Arizona to Big Bend National Park in April 2022. We chose April because it’s after the busy Spring Break crowds in March, the weather is still pleasant, and it worked best with our schedules. We’ll also cover how we got to the park and where we stayed.
Because there are no major cities within a reasonable distance, it’s worth the time it takes to fly, rent a car, and drive. For us, driving made the most sense. From Phoenix to Terlingua, the closest town to the park’s northwest entrance, it is about 11 hours. We took two days of PTO and broke the drive into two parts. On Wednesday after work, we drove to Willcox, Arizona, and stayed overnight in a motel to keep costs down. The next morning, we made the remaining eight hour drive to Big Bend. Splitting the trip made the journey much more manageable and gave us more time to enjoy the park once we arrived.
Where We Stayed Near Big Bend National Park
By the time we started planning this trip, all of the camping inside the park was already booked, so we looked outside the park and found a private campsite on Airbnb in Terlingua. Since we weren’t familiar with the area, it gave us peace of mind that our camping gear would be safe while we were out exploring. The campsite had a shelter for shade and wind protection, plus two full bathrooms with flush toilets and hot showers shared with other campers.
Terlingua is about 12 minutes from the entrance of the park, but reaching most main attractions requires more driving once inside. Overall, we really enjoyed our stay. We brought Mountain House meals for quick and easy dinners, but we also went into town one night for dinner and drinks. Be sure to eat at the Starlight Theatre — it’s a local favorite.
Tip: If you plan to camp near Big Bend, book as early as possible — ideally six months in advance. Both inside-the-park and nearby campsites fill up quickly, especially during the cooler spring and fall months.


Important Big Bend National Park Information
-
Dogs are not allowed on any park trails.
-
Entrance fee is $30 per vehicle and valid for 7 days.
-
Summers are extremely hot — we do not recommend visiting during this time.
-
Weather can vary drastically between the mountains and desert, so always check the forecast before heading out.
-
Drinking water is limited in the park. Bring enough for everyone in your group.
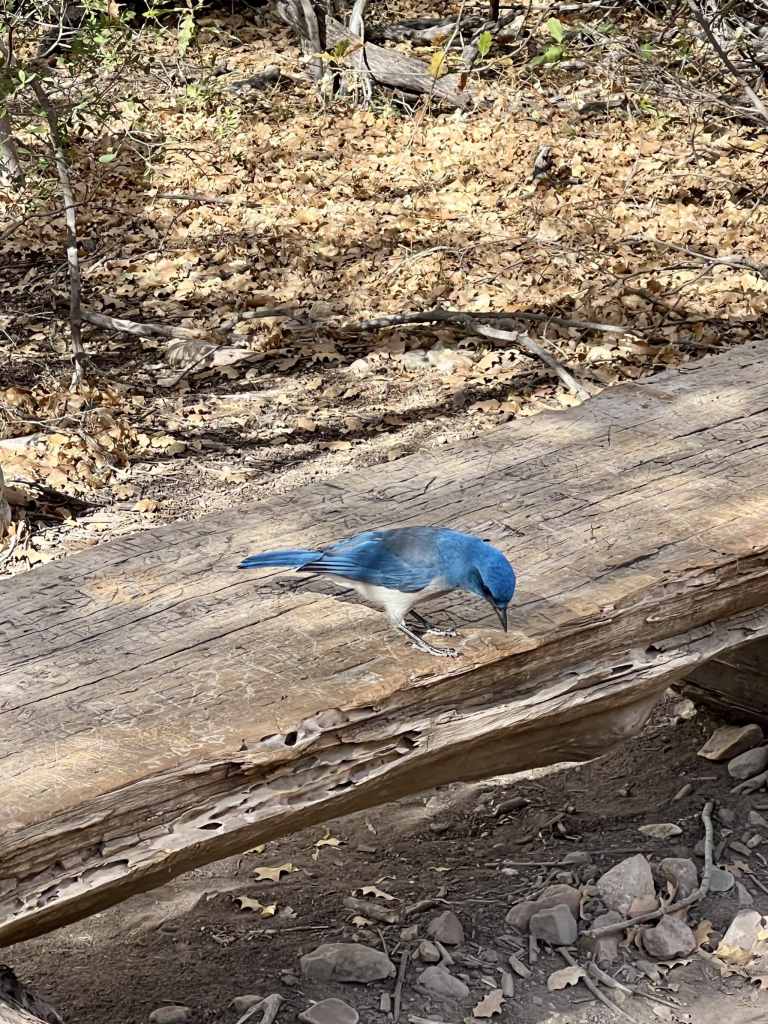
Day 1: Santa Elena Canyon
After arriving in Terlingua, we went straight to our campsite to set up our tent before heading into Big Bend National Park. Since daylight was already fading, we decided to make the most of it by heading directly to Santa Elena Canyon Trail. This short but scenic trail is 1.6 miles round trip with only 80 feet of elevation gain. The Rio Grande’s water levels here can vary depending on the season, which can change how the trail looks and feels. Because we visited later in the day, the trail was much less crowded than usual which was a rare treat for one of the park’s most popular hikes.
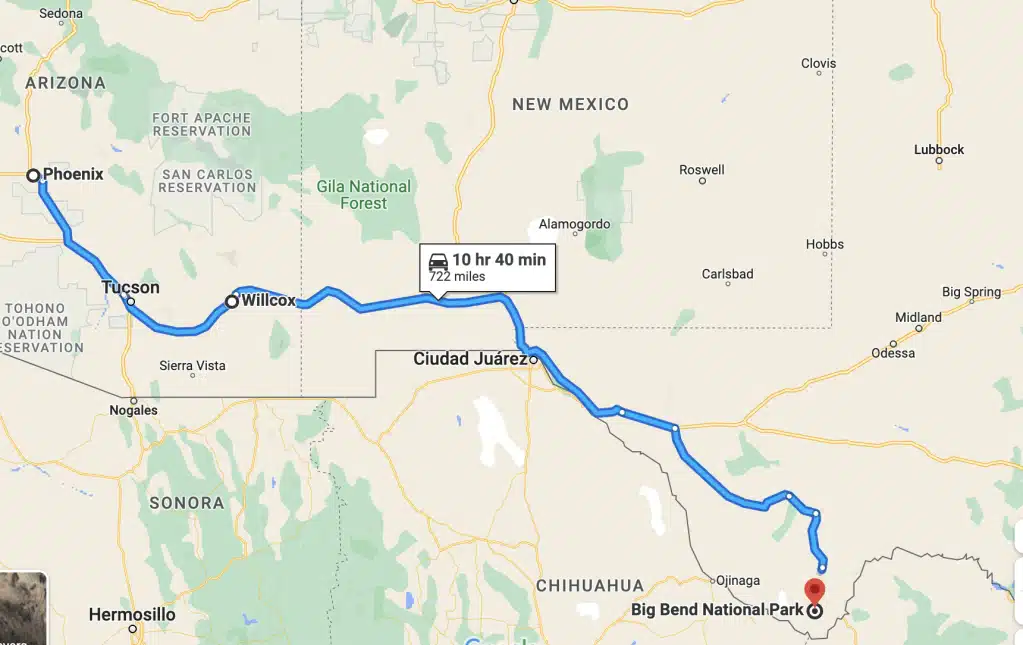
On the way back, we took Old Maverick Road, a 14 mile dirt road that runs between Maverick Junction and Santa Elena Canyon. This rugged 4×4 route is known for its washboard conditions, so expect a slow and bumpy ride. We drove it in our Jeep and it took about an hour, most of it after sunset. With limited light, we stayed extra alert for wildlife crossing the road and any sudden changes in terrain.
Trip Tip: If you do not have a high clearance vehicle or simply prefer a smoother ride, take the paved route instead of Old Maverick Road. It is longer in mileage but can be faster and more comfortable, especially if you are driving after dark. Sunrise is also an incredible time to visit Santa Elena Canyon because the light hits the canyon walls beautifully and crowds are minimal.


Day 2: Boquillas Canyon Trail
On our second day, we stopped at the Park Visitor Center at Panther Junction before heading to Boquillas Canyon Trail. This scenic hike is 1.6 miles round trip with about 150 feet of elevation gain. The trail begins with a climb before descending to the Rio Grande, where it levels out into soft, sandy terrain. The water here is a stunning shade of green, and as you continue, the canyon walls begin to rise dramatically around you.
Along the way, you might encounter people from Mexico selling small handmade souvenirs. We simply said “no thank you” and kept walking. A little further down the road is the Boquillas Crossing Port of Entry, where visitors can cross into Mexico. We had a busy day planned and decided to skip it, but it is something we would definitely do on a future trip. The crossing is typically done via a small ferry boat and is very affordable. Remember, you will need proper documentation to re-enter the United States.
Trip Tip: If visiting Boquillas is on your list, plan for extra time in your day and bring your passport. The crossing is open seasonally and hours can vary, so check the schedule in advance at the visitor center.


Ernst Tinaja
After our hike to Boquillas Canyon, we took Old Ore Road to reach the Ernst Tinaja Trailhead. The trail is about 5 miles from the pavement along a rough dirt road. High clearance is required, and four-wheel drive is highly recommended, especially if conditions are anything other than dry. The National Park Service warns: “Do not attempt to reach this trail without a rugged high-clearance vehicle with sturdy tires.” The road is rocky and can easily damage vehicles with minimal sidewall or standard road tires.
The hike itself is mostly flat and only about 1 mile round trip. Ernst Tinaja features a natural tinaja, or water hole, that can be a magnet for wildlife. Depending on the season, be cautious of wasps, as they are often found near the water. When we visited, we saw quite a few. We did not get stung, but other hikers told us they had.
Trip Tip: Bring plenty of water and wear sturdy shoes with good traction. The rocky terrain on Old Ore Road can be slow-going, so allow extra travel time to and from the trailhead.


Hot Springs


Continuing our day in the southeast section of the park, we made our way to the Hot Springs. This is a fascinating area with a mix of natural beauty and history. At one time, the land was homesteaded and later became a lodge and naturopathic healing retreat centered around the spring water. The drive to the Hot Springs is short but scenic, with a few fun twists and turns along the way.
From the parking lot, it is a short walk to the springs. You can still see the brick foundation of the old bathhouses, and warm spring water continues to fill the pool before overflowing into the Rio Grande River. We spent some time relaxing in the warm water before heading back to the car and returning to Terlingua. That evening, we treated ourselves to a steak dinner in town.
Trip Tip: The Hot Springs Trail is short, but bring water shoes if you want to walk comfortably in and out of the water. This spot can get busy during peak season, so visiting earlier or later in the day can make for a more peaceful experience.
Day 3: Chisos Mountains
Bear country! The Chisos Mountains almost do not make sense. This tall yet relatively small mountain range rises out of the desert like an isolated “sky island.” The drive up is beautiful, climbing from the desert basin into pine trees and cooler temperatures.
There are many hikes in this area ranging from short walks to challenging treks, and it is also a popular place for backpack camping. We started early from Terlingua since parking at the top is limited and the cooler weather makes for a more pleasant morning hike. Fun fact: the Chisos Mountains are home to the only lodging inside Big Bend National Park.
Hiking The Window
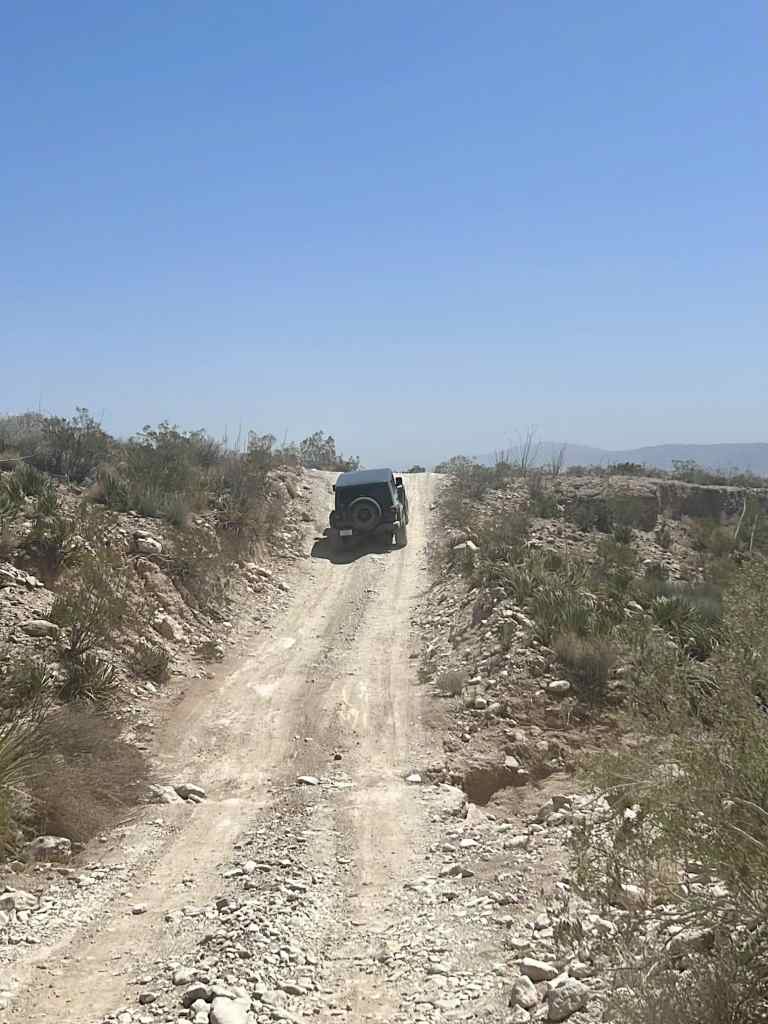
We hiked out to The Window, a 5.5 mile out and back trail with reverse elevation gain. It is downhill on the way out and uphill on the return. The most challenging part is at the very end, climbing a series of switchbacks. The scenery is beautiful the entire way, and we spotted signs of wildlife like black bear scat. This area is also home to mountain lions, snakes, and the stunning Mexican Blue Jay.
After the hike, we enjoyed a quick Mountain House lunch at the picnic tables before heading back down the mountain.


Scenic Stops on Ross Maxwell Drive
From the Chisos, we took the Ross Maxwell Scenic Drive toward Santa Elena Canyon, making multiple stops along the way. Highlights included:
-
The Sam Nail Ranch – historic ranch remains in the desert
-
Blue Creek Ranch Overlook – great views of the surrounding area
-
Lower Burro Mesa Pouroff – a short walk to an impressive rock formation
-
Mule Ears Viewpoint – iconic desert spires
-
Tuff Canyon – deep rugged canyon views
-
Castolon Historic District – historic structures and a visitor center
After these stops, we connected back to the main road (118) via Old Maverick Road.
Balanced Rock in Grapevine Hills
Our last stop of the trip was Grapevine Hills and the Balanced Rock Trail. The road to the trailhead is considered an improved dirt road, generally suitable for most vehicles, though some ground clearance is recommended for a few rough patches.
The hike to Balanced Rock is short but scenic, leading to a massive boulder wedged between two rock walls. It looks a bit like the boulder rolling toward you on the Indiana Jones Ride at Disneyland.


Final Thoughts on Big Bend
This was our last adventure in Big Bend before moving on to more parks the next day. There is so much more we could have done with additional time and planning. Our Jeep Wrangler was brand new, so we skipped some of the more rugged 4×4 trails including a Jeep Badge of Honor Trail. We also had to pick and choose hikes to fit everything in.
Next time, we would plan for more hiking and maybe some of the remote trails. No matter what you choose to do, if you explore the park’s variety from desert to mountains to river you will understand exactly why Big Bend deserves its National Park title.
Day 4: Carlsbad Caverns and Guadalupe Mountains

We knew Sunday would be a long day with a lot of driving ahead. Our goal was to make it back to Phoenix by the end of the night. We were up well before sunrise, early enough to see the Milky Way with our own eyes. The first hour of the drive was in complete darkness as we made our way toward New Mexico.
Carlsbad Caverns National Park
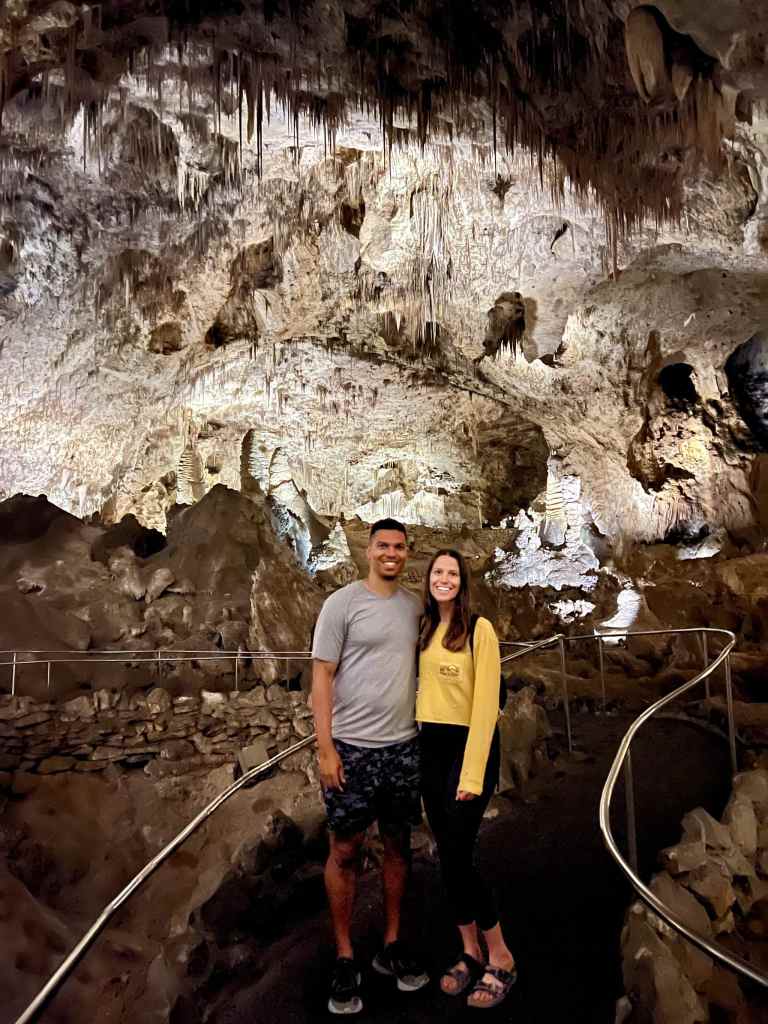
Before heading into New Mexico, we made a quick stop at the Prada art installation outside of Marfa, Texas. After four hours on the road, we arrived at Carlsbad Caverns in time for our reserved tour. The cavern was absolutely worth the trip. It is massive, with incredible geological formations at every turn. If we did not have another eight hours of driving ahead, we could have easily spent much longer exploring.
This is one National Park that should be on everyone’s list. The combination of geology, biology, and history makes it an unforgettable place to visit.


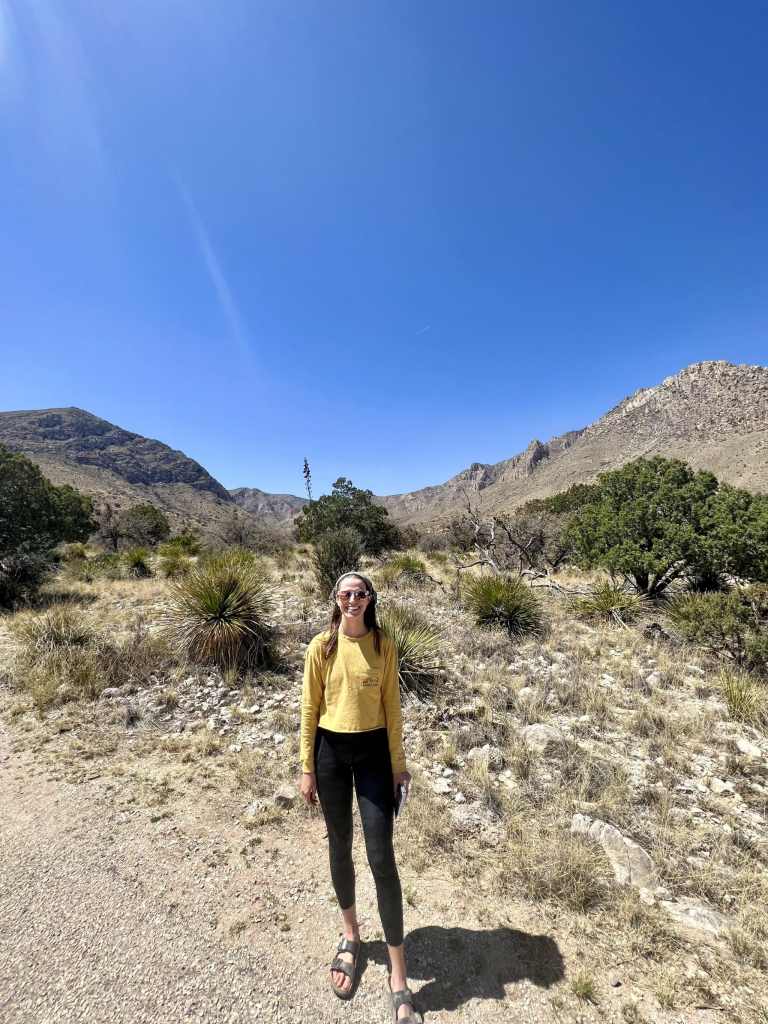
A Surprise Stop at Guadalupe Mountains National Park
On the way to Carlsbad Caverns, we passed by Guadalupe Mountains National Park and immediately realized we had missed it in our original trip planning. Naturally, we decided to stop on our way back from Carlsbad Caverns.
The Guadalupe Mountains are part of the Capitan Reef, a mostly buried 400 mile long U shaped fossil reef complex that stretches across west Texas and southeastern New Mexico. A twelve mile section of this ancient reef is exposed above ground between the park and Carlsbad, New Mexico. The caverns themselves sit within and beneath this reef, making the two parks closely connected.
We did not have a lot of time, but we stopped at the visitor center to speak with a ranger and walked to a few viewpoints. The day was extremely windy with National Weather Service warnings in effect, and at one point we saw a camper’s tent blow across the parking lot. After this brief stop, we continued our journey back to Arizona with another park now added to our list for a future visit.

Additional Stop and Gear to Consider
If you have extra time, consider adding White Sands National Park to your road trip. We had visited White Sands before, so we did not include it on this trip, but it is absolutely worth a stop. You can check out our full blog post on White Sands to learn more about what to see and do there.


The AZ Hikeaholics Top Gear Recommendations
Gear for the trail ranges from what’s in our pack to what’s on our back and feet. Here you’ll find what we trust and bring, including the essentials and what keeps us comfortable!

Women’s Summer Hiking Clothes (Trail-Tested Picks)
Women’s Summer Hiking Clothes When it comes to women’s summer hiking clothes, finding the perfect balance between comfort, durability, and sun protection is essential. Over

Men’s Summer Hiking Clothes: What to Wear on the Trail
What to Wear Hiking in Summer: Tested Men’s Gear Over the years, I’ve refined what I wear on the trail—especially as my hikes have become

